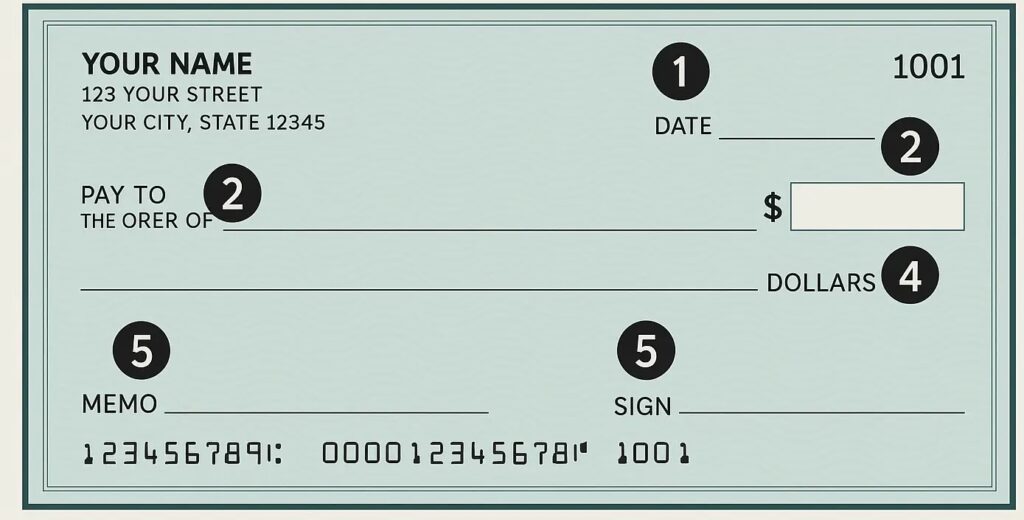
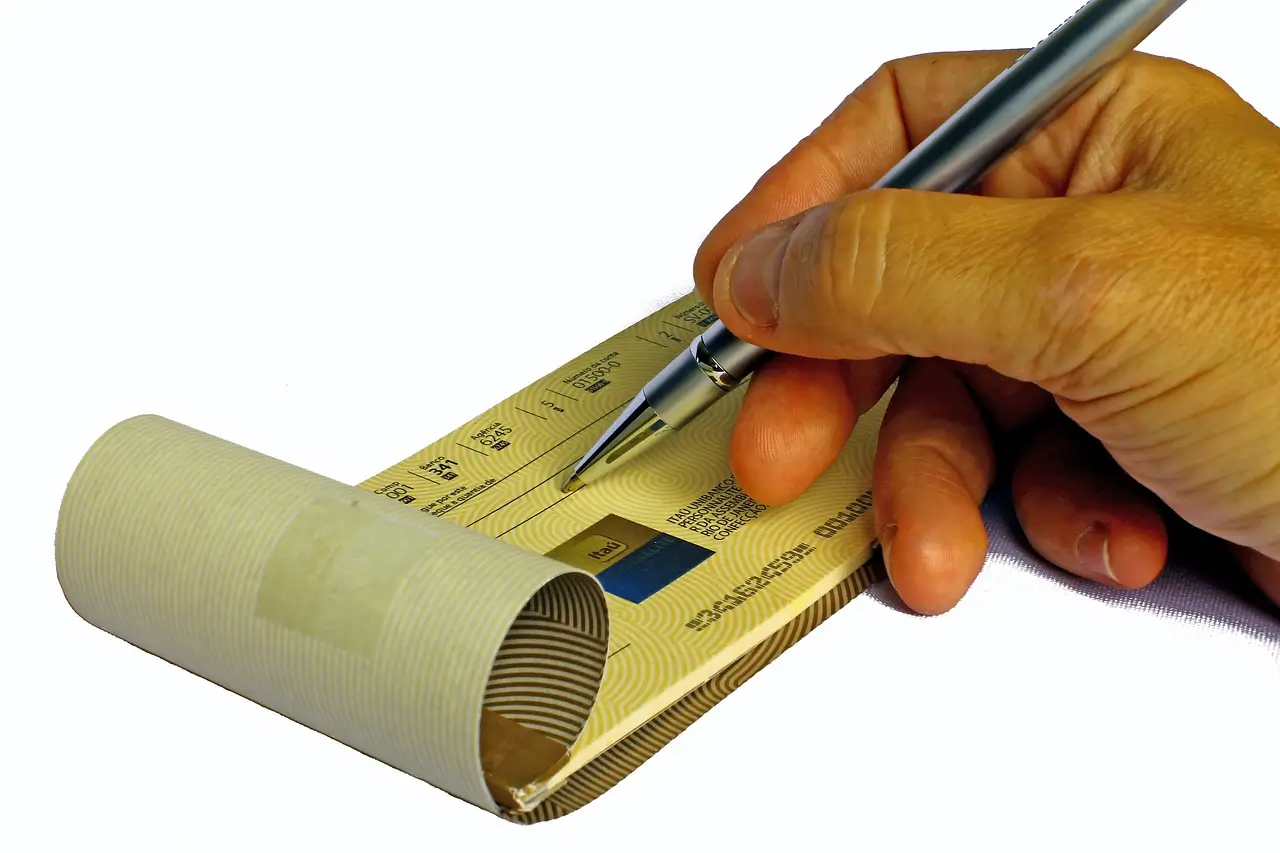
Filling a check can be done by writing out six lines on the check. There are also options to sending a check.
What is a Cheque?
A check is a written, dated, and signed document instructing a bank to pay a certain sum of money to an individual or corporation. It allows you to transfer funds from your checking account without using cash or electronic payments.
How to Fill Out a Cheque in a Six Easy Steps

Filling a check for the first time or after a long break? You might wonder where to sign or how to write cents correctly let’s explore steps of how to fill out a check correctly.
Step 1: Write the Date
The first thing you need to do is write the date in the upper right corner. It’s important to use the month/day/year format to avoid confusion. For example, if you’re writing a cheque on December 15, 2025, it should appear as “12/15/2025.” This date indicates when the cheque is written, which can be crucial for the recipient’s record-keeping.
Step 2: Fill in the Payee Name
Next, you’ll fill out the payee’s name on the line that says “Pay to the order of.” This is where you’ll write the full name of the person or company you’re paying. Be sure to spell their name correctly, as this is how they will be able to cash or deposit the cheque. If you’re sending money to a business, make sure to use the business name registered with the bank.
Step 3: Write the payment amount (numbers)
In the small box on the right, write the amount in numbers (e.g., $130.45). Write clearly so the bank or ATM can read it correctly.
Step 4: Write the Payment Amount (Words)
Below the payee line, write the amount in words to match the numbers. For example, “$130.45” should be written as “One hundred thirty and 45/100.” If the amount is a whole number, add “and 00/100” for clarity. This step confirms the correct amount.
Step 5: Add a Memo (Optional)
The memo line at the bottom is optional but useful to indicate the purpose of the payment. This could be anything from “Rent for December” to “Invoice #123.” Using this line can help both you and the payee keep track of what the payment was for, improving clarity in your financial records. When in doubt, a simple description is always a good idea.
Step 6: Sign the Check
Finally, don’t forget to sign the cheque in the bottom right corner. Your signature is crucial; it validates the cheque and authorizes the transaction. Ensure your signature matches the one on file at your bank to avoid any issues when the recipient tries to cash the cheque.
Frequently Asked Questions (FAQs)
1. How to write a check for 1500
Write “1,500.00” in the numeric box and “One thousand five hundred dollars and 00/100” on the amount line.
2. How to write numbers in words on a check
Write the full dollar amount in words (e.g., “One thousand five hundred dollars”) and the cents as a fraction (e.g., “00/100”).
3. How do I write a check with zero cents?
Write the whole dollar amount in words, followed by “and 00/100” (e.g., “One hundred dollars and 00/100”).
4. What should I do if I write a check incorrectly
If it’s a minor mistake, void the check and write a new one. Never use correction fluid or scribble over mistakes.
5. Can I write a check to myself?
Yes, you can write a check to yourself by entering your own name as the payee. You can then cash or deposit it.
>>Need help depositing your check? Read More How to Fill Out a Cheque Deposit Slip
Conclusion
Filling out a check correctly is essential for personal finance management. To ensure a smooth transaction, follow these steps: write the date, add the payee’s name, write out the amounts, complete the memo, and sign the cheque.
Remember, always double-check your details to minimize the risk of errors. To continue improving your financial skills, explore more comprehensive resources or guides from your bank, as they often provide valuable tips and information on managing your finances effectively.

